I’ve been using Siteleaf a lot recently, for both my day job and personal projects. In light of this, I decided to create a screencast of myself going through the process of adding Siteleaf to a pre-existing site running on GitHub Pages. As additional reference, I’ve documented the process below.
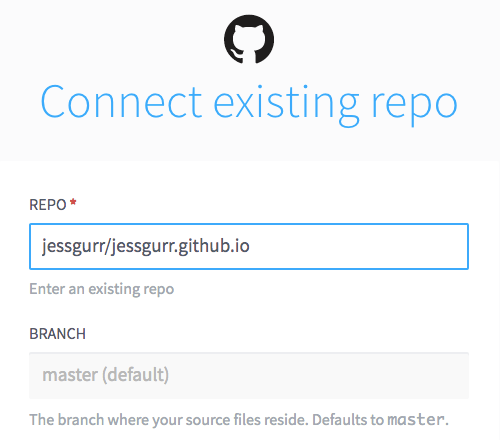
Sign up to Siteleaf with your GitHub account. Once you are signed up, click “Create new site”. You’ll be asked for the title and domain of your site, but instead, click “Connect existing repo” shown on right of the screen. Select the repo you want to connect with Siteleaf by typing and using the dropdown list. Check the branch is right; you’ll most likely want master or gh-pages.
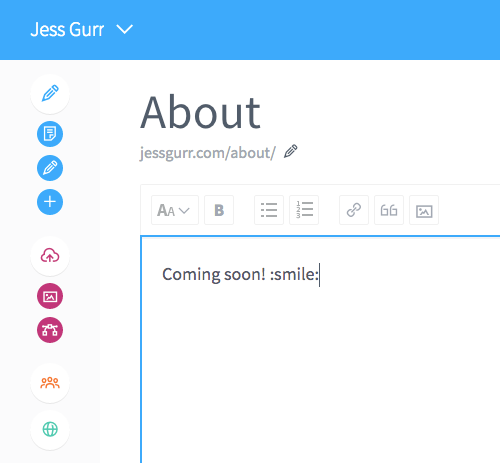
Once you’ve given permission to access the repo on your GitHub account, Siteleaf will run through your configuration file, front matter and any other settings within the site. “This is to make the site more machine readable”, as quoted from their tutorial video. After it has converted your files, you’ll then have access to the admin interface.
Now that your site is up and running with Siteleaf, it’s best to check through your settings and test whether changes you make in the admin interface are reflected on the live site and in the GitHub repo.

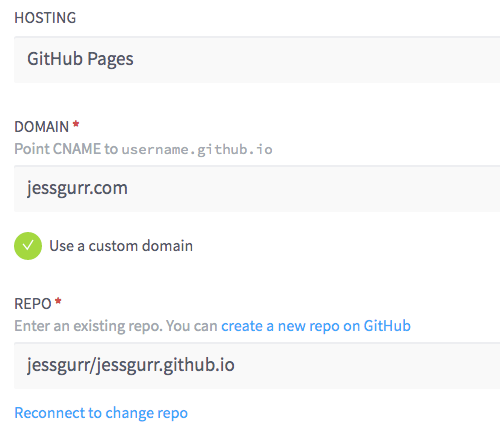
Check that the site settings are using GitHub Pages for the hosting, that the compiling is performed by GitHub Pages, and that you are using the right plan for the site. In my case, I’m using the free Developer plan.
You should be all set to start editing and adding content to your Jekyll site hosted on GitHub Pages. ⚡️
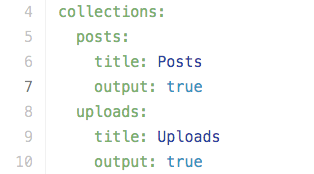
A couple of things you might want to make note of: Siteleaf uses an _uploads directory for uploading images and other assets. When you upload a file for the first time, Siteleaf will add the file into the _uploads directory, as well as creating a collection call “Uploads” in your _config.yml file. You might want to consider moving other assets you had prior to using Siteleaf so that users can access and use these files throughout the admin.
Something else that might interest you is Default fields and Smart Field Names. Default fields allow you to effectively create your own custom fields for pages, posts or any collection. Smart Field Names allow you to take custom fields further by adding colour pickers, upload buttons and date pickers, all by just using smart naming conventions.
So, there we go! Siteleaf is pretty easy to set up with a GitHub Pages site and it doesn’t take long before you’re editing content and inviting collaborators or clients to start contributing, as well. I hope you find this tutorial and screencast useful. 😃