Netlify Build Plugins let you tap into the different phases in the build process that happen on Netlify. After being invited to the beta I spent some time figuring out what I could do and built a plugin of my own, a build plugin to generate markdown from Ghost.
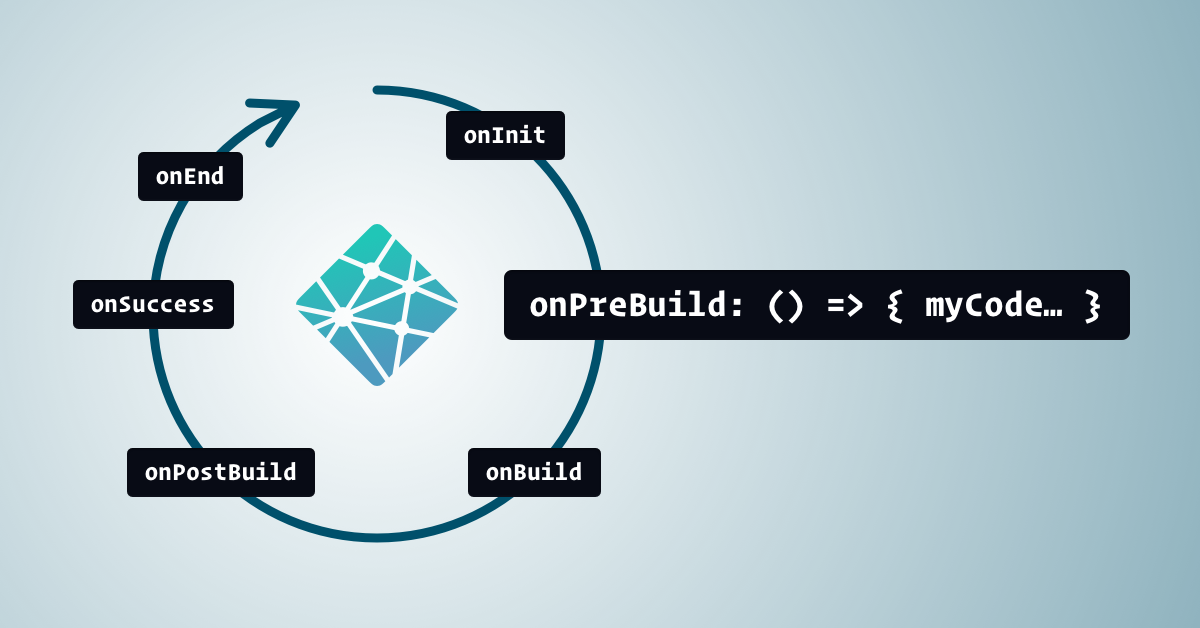
Every time Netlify starts a build it begins a ‘lifecycle’. A lifecycle is made up of events:
onInitonPreBuildonBuildonPostBuildonSuccessonErroronEndAll these events happen in the above order, exceptions being onSuccess and onError for successful and failing builds respectively. Build plugins give you the chance to step in with your own code during any of these lifecycle events. You can use vanilla JavaScript in a directory within your project, or some code wrapped up in an npm package. You can read more about them on the official GitHub repo as well as this article by Sarah Drasner.
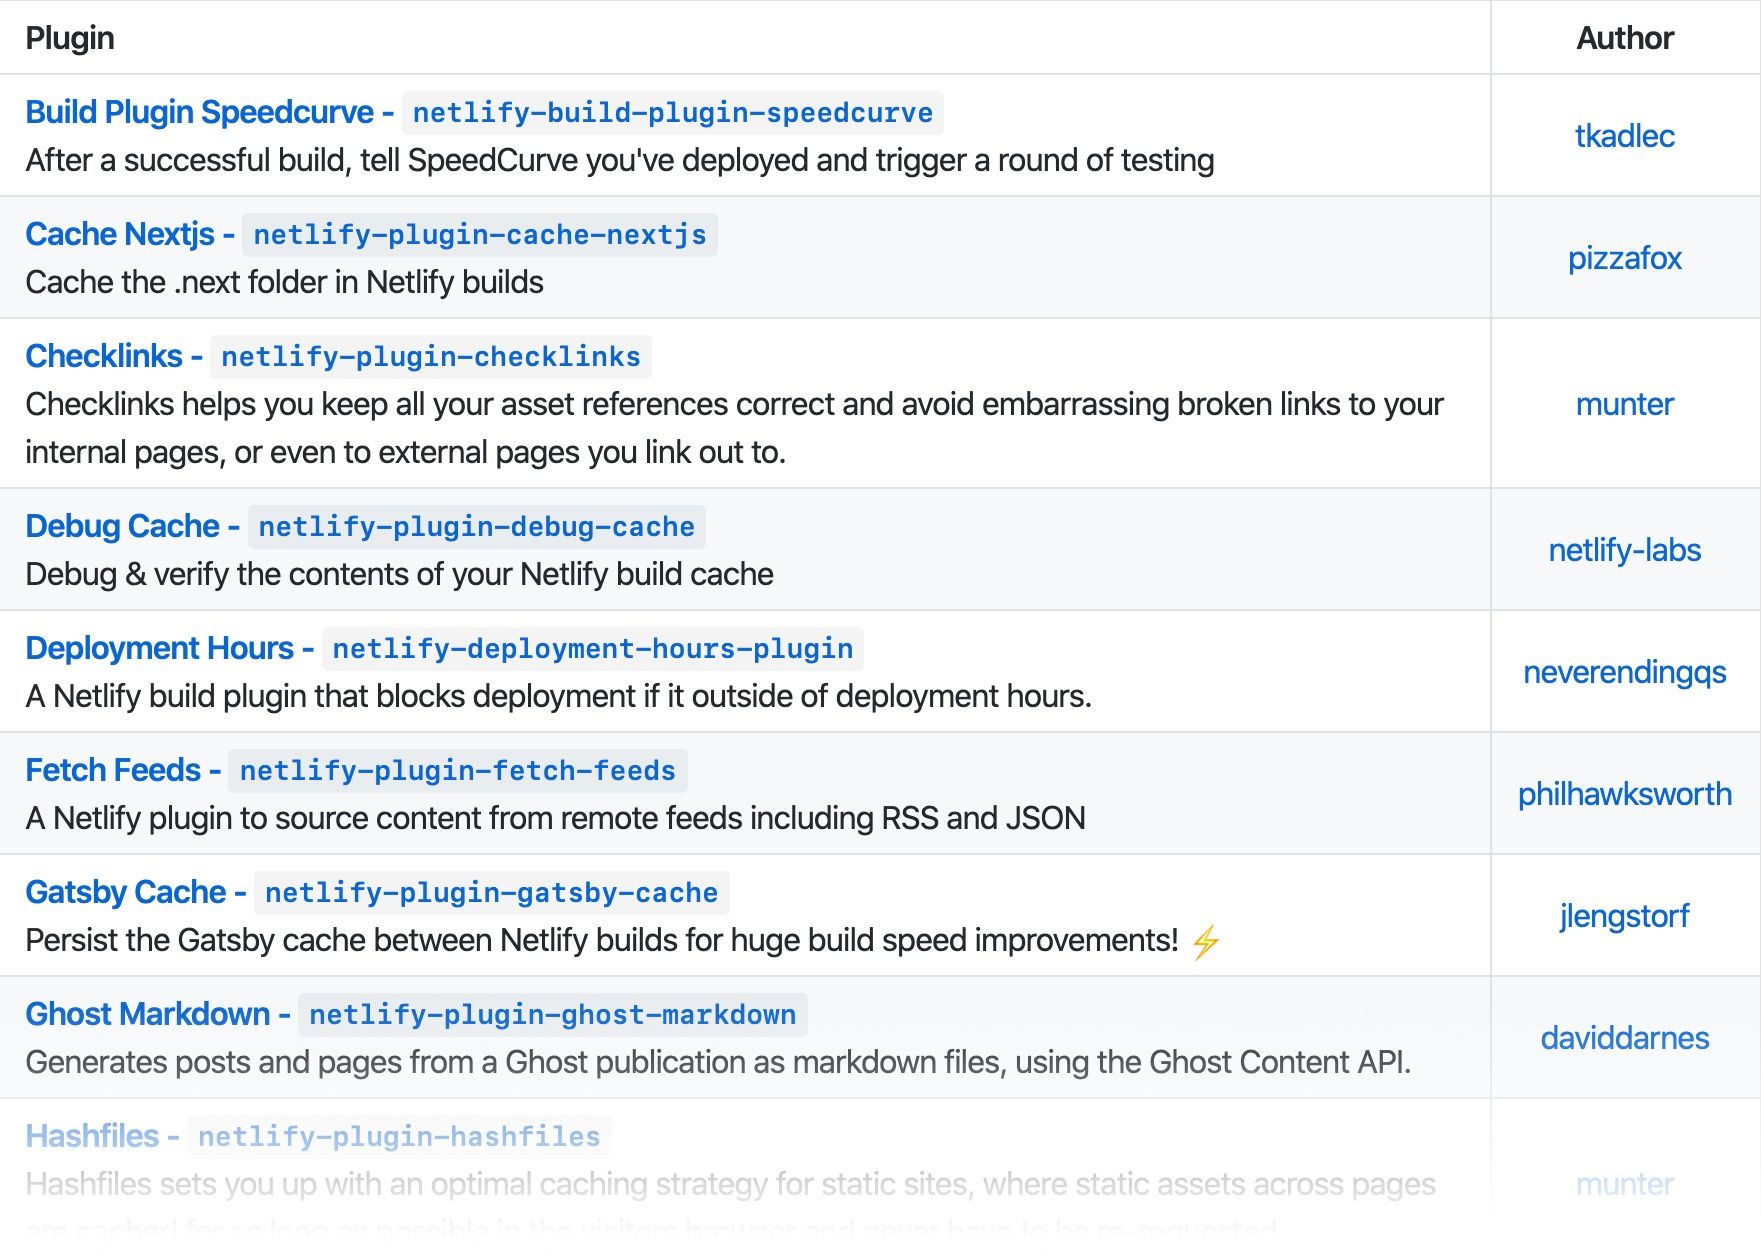
Well, to be frank with you, I wasn’t entirely sure. For quite a while after the announcement I thought “If I want to run some code before my build I’ll add it in before my build in the project 🤷🏼♂️”. However after looking at some of the examples my mindset began to shift, for example a plugin by Peter Müller which checks links at the onPostBuild event and stops the deployment if there’s a broken link in the build.

It wasn’t until a late drive home from NA Conf while listening to Fish and Scripts that an idea dawned on me. I had already encountered a use case before, but with the use of build plugins I could improve it. Not too long ago I wrote a tutorial on how to use Ghost with Jekyll, where I used gulp.js to pull in content via the Ghost Content API and generated markdown files for Jekyll to comfortably consume.
It was a clever solution, but not what I would call ‘clean’. Using gulp.js locally would mean you’d have to commit untouchable markdown files to your repo, because their contents is sourced from your install of Ghost. Using gulp.js on Netlify was much better but you’re still using a pair of mismatched build tools, gulp.js and Jekyll.

If I was to tap into the onPreBuild phase of the Netlify build lifecycle I could generate the markdown files at that point and then let Jekyll run its normal course. I could also wrap the code up in a neat plugin that others could use, possibly with other static site generators like Hugo and Eleventy!
Netlify build plugins can be written in Node JavaScript wrapped in a module, aka module.exports. Plugins can tap into any event in the lifecycle, even multiple events. Here’s how my plugin assigns a async function to the onPreBuild event:
module.exports = {
  name: "netlify-plugin-ghost-markdown",
  onPreBuild: async () => {
    // Using async so Netlify waits for it
  }
};
To make Netlify aware of this file it needs to be referenced in the configuration file. When working on this plugin I really struggled to get my head around the .toml format. Thankfully .yaml files are are supported within the beta as well, which I find more readable.
Build plugins can be local, by referencing a directory, or an installed dependency.
plugins:
  - package: "netlify-plugin-ghost-markdown"
  # Could also be "./_plugins/custom-netlify-plugin"
Check out the build plugins repo readme for more details.
It gets a bit meta when using dependencies in a local plugin because you’ll essentially be starting up a new mini JavaScript project, package.json and all. That’s partly why I wrapped the plugin in an npm package. As a package you can install it alongside any other dependency in the main project it’s being used in.
As mentioned earlier, build plugins use Node, so if you’re familiar with writing JavaScript then you’re going to be fairly comfortable with this. For example the dependency importing is the standard require():
// Example dependency includes
const path = require("path");
const fetch = require("node-fetch");
const ghostContentAPI = require("@tryghost/content-api");
For my plugin to work for everyone I needed a way to let them configure it from the netlify.yaml file in their project. Build plugins use the following syntax to state config values:
plugins:
  - package: "netlify-plugin-ghost-markdown"
    config:
      ghostKey: "1234567890"
      assetsDir: "./images/"
      pagesDir: "./pages/"
Within the plugin code a single parameter is passed. pluginConfig is one of the properties on the parameter, which contains all the plugin config values. In the example below I’m using destructuring to grab only the config values object:
module.exports = {
  name: "netlify-plugin-ghost-markdown",
  onPreBuild: async ({ pluginConfig }) => {

    // Logging them here as an example of context use
    console.log(
      pluginConfig.ghostKey,
      pluginConfig.assetsDir,
      pluginConfig.pagesDir
    );

  }
};
Destructuring can be really handy here, especially with default values incase the user of the plugin hasn’t set any.
In my case the defaults are the typical file structure of a Jelyll site, but if those values are set then they’ll get overwritten:
onPreBuild: async ({
  pluginConfig: {
    ghostURL,
    ghostKey,
    assetsDir = "./assets/images/",
    pagesDir = "./",
    postsDir = "./_posts/",
    postDatePrefix = true
  }
}) => {
  // Magic...
}
Having control over those values means it can be used with any SSG that accepts markdown files, such as Hugo or Eleventy.
At first I thought when using a Netlify Plugin you only needed to reference it in the netlify.yaml file, however you do also need to install it as an npm package like so:
npm install --save netlify-plugin-ghost-markdown
So if you’re using the plugin in a Jekyll project it’s going to look a bit strange having a package.json in there too. So make sure to add it to the excludes list in your config.yaml.
Then it’s a matter of referencing and configuring the plugin in the netlify.yaml:
plugins:
  - package: "netlify-plugin-ghost-markdown"
    config:
      ghostURL: "https://YOURGHOST.URL"
      ghostKey: "YOURGHOSTKEY"
I’ve provided installation and usage instructions in the repo for my plugin. You’re also welcome to dig around the code. It’s less complex than other plugins I’ve seen, which may help you to get your head around the concept.
If you’re using this plugin, or using it to help yourself to understand Netlify Build Plugins, do let me know on Twitter.
✌️